|
I saw this machine in action some months ago - you know, you are browsing the internet, come across something and before you know it you are watching a video for 20 minutes not knowing why. Anyway, I happened to come across the Glowforge again in my search to expand my small business and add something new, and came upon it again. I admit, I had no idea what this machine could really do. Except, make a somewhat cool 3-D wooden box. Until I researched. And researched some more. When I finally bought it, it was on back order, which is probably a really good thing. Because it took me weeks to learn some of the programs necessary, figure out some of the materials I am going to start with and create my first designs. I decided to start simple with what I know and then branch out as I continue to learn. Of course, I had a moment where I was trying to figure everything out at once, until I forced myself to slow down and just start with basics. So I am going to start with tiny stud wood earrings, pendants perhaps, and hopefully, some super cool little wooden signs, that on some, will be able to be customized. I have had to redesign my designs several times as I really didn't know how the glowforge worked, and then for the third time when I knew... thicker lines, HD engraving, etc. So while I wasn't exactly discouraged at first, besides the ultra cute little ruler I printed out, my designs weren't turning out how I wanted. I took a rare break instead of obsessing over it, came back to it - actually made the designs smaller did a little more testing of engrave vs. score (score actually burned the test piece and made it crumbly), and finally figured out what I think my problem was. They have like 3 different options for engraving (even more options under advanced settings) and I think I was engraving with SD instead of HD. I also went back and thickened some of the lines up on my artwork... And woo hoo -- success. Tiny little stud earrings that looked way more like they are supposed to, and while the bird is missing some details, I am getting somewhere. This pictures show them in proofgrade material draftboard. I will try in real wood once I approve more of my designs. Getting and setting up the glowforge was almost problem free. As I did rip the shipment box up a little, and I couldn't get it to connect to wi-fi the first time. Sorta felt like I was putting a computer together when I began setup - but it was fun. Well, until I had to attach that darn vent hose. I hate those things. I guess I am a weenie because I have a hard time squeezing the wire thing that make the hose stay tightly attached to the venting hole. Also - in the forums and elsewhere people say that this machine is big - but seeing pictures - videos, you really don't understand until it is right in front of you. It is a honker. But I still managed to carefully lift and maneuver it onto the low table it is on, so yes it is heavy, but not like totally unmanageable. Yep, I am kinda excited. Once I get some items finished I will start posting on my new old Etsy Store. Already updated my logo for it, and started working on/thinking on packaging I am believing this is going to be a success. Night for now. If you are thinking about buying the glowforge, use this link and save up to $500 dollars. :) It will also help me out. I can get more supplies. Yippee! glowforge.us/r/NIZAKZPM 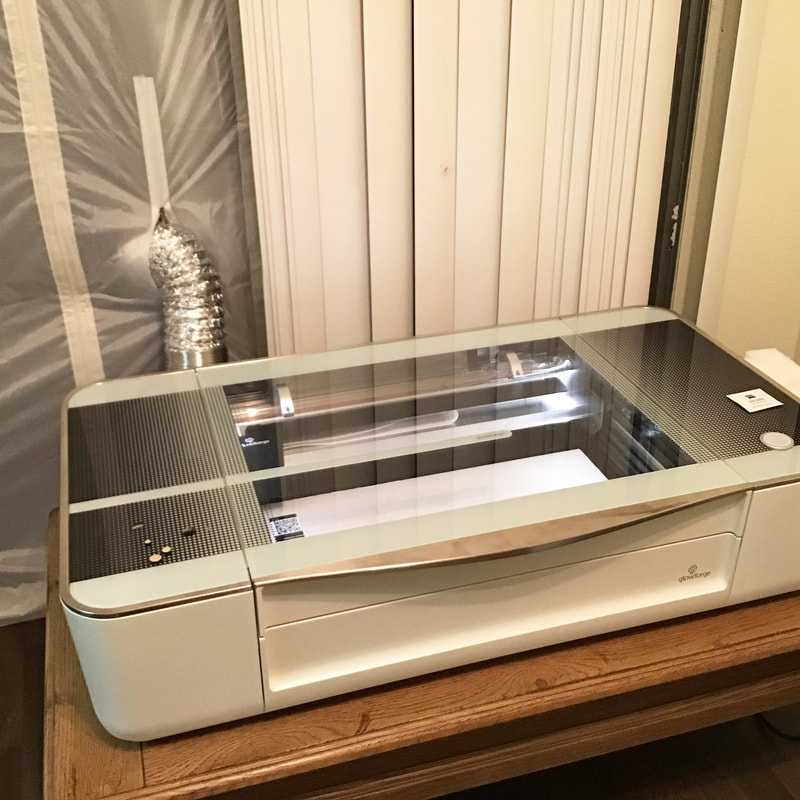 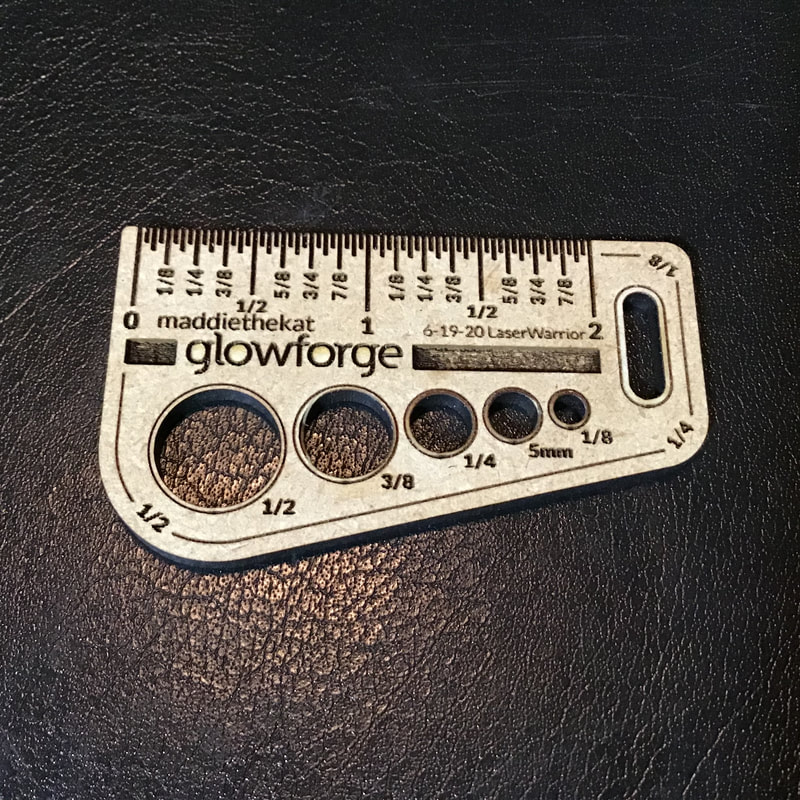 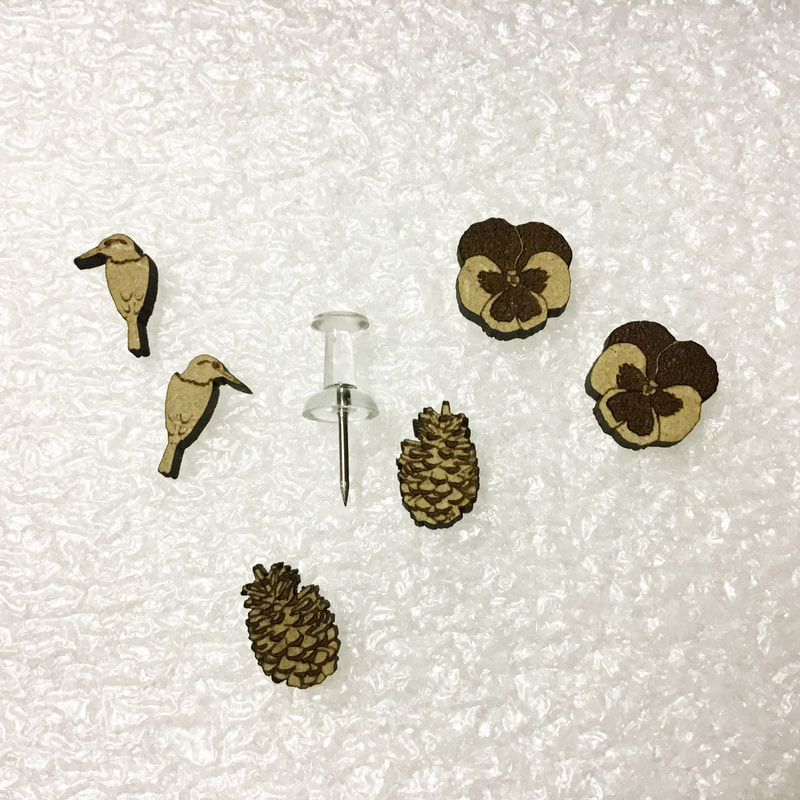
0 Comments
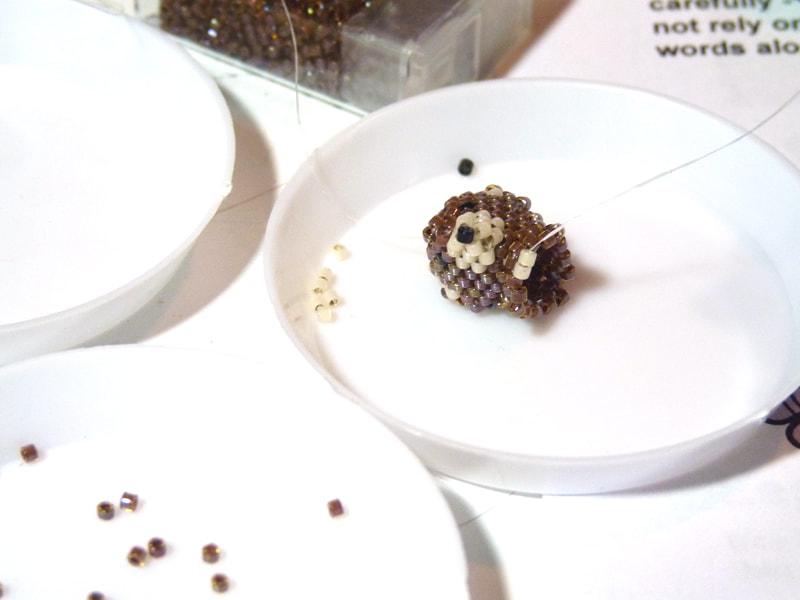
I made this before, but gave it away as a gift last year. Unfortunately, I forgot to take photos. Anyway, I made it again today. The bear takes about 2 hours. But getting a good picture of it seemed to take longer. Taking a white on white picture can always be difficult. The bear is smaller than you would think, and very cute with beautiful colors. 2nd Picture shows my packaging. I don't know if you can tell by picture, but I beaded a 3D nose and eyes on front to give the pin more dimension. This is my own design. 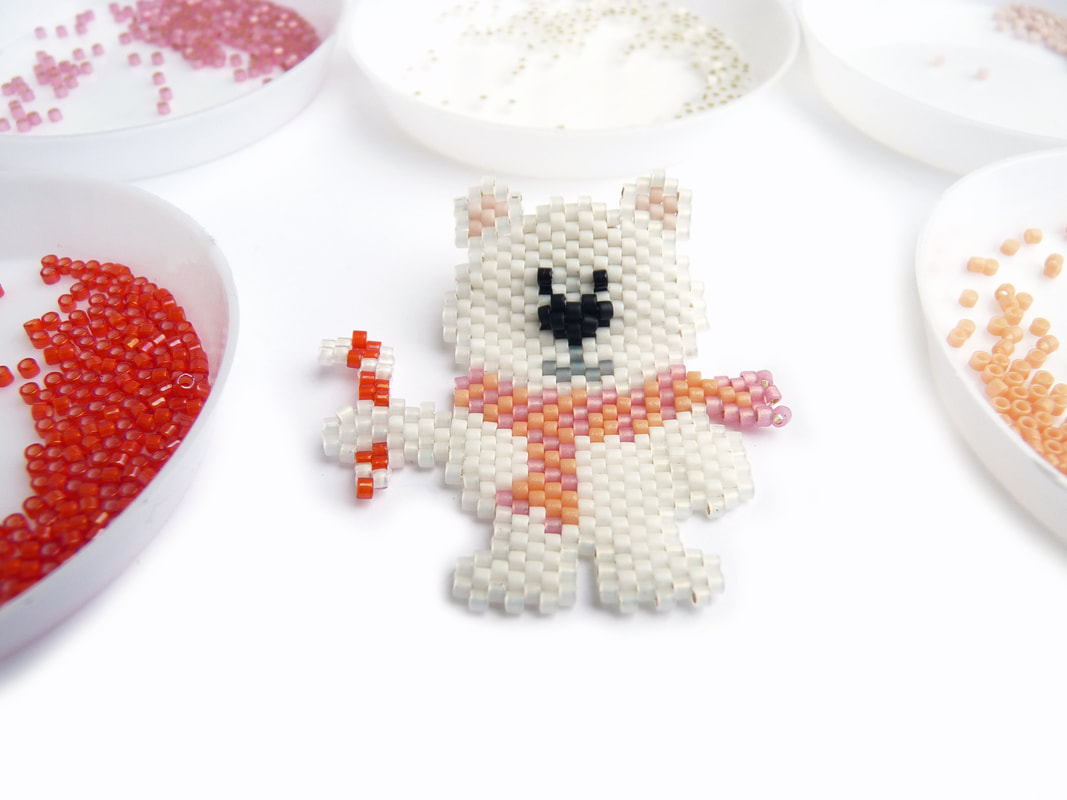 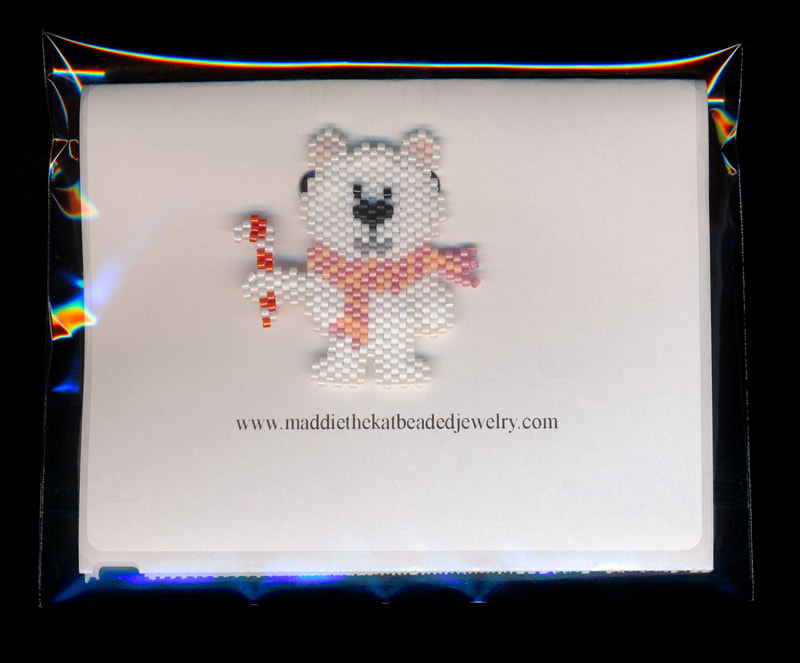  Took me two days to bead up this little flamingo. I kept taking it apart because for some reason or another as I kept making minor little boo boos. I didn't keep track of the peachy pinks when I began, and they look very similar.
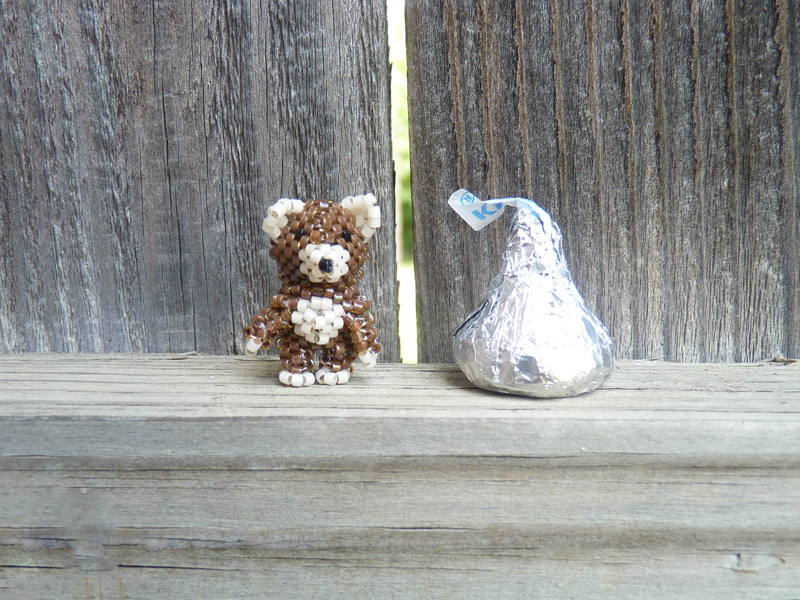
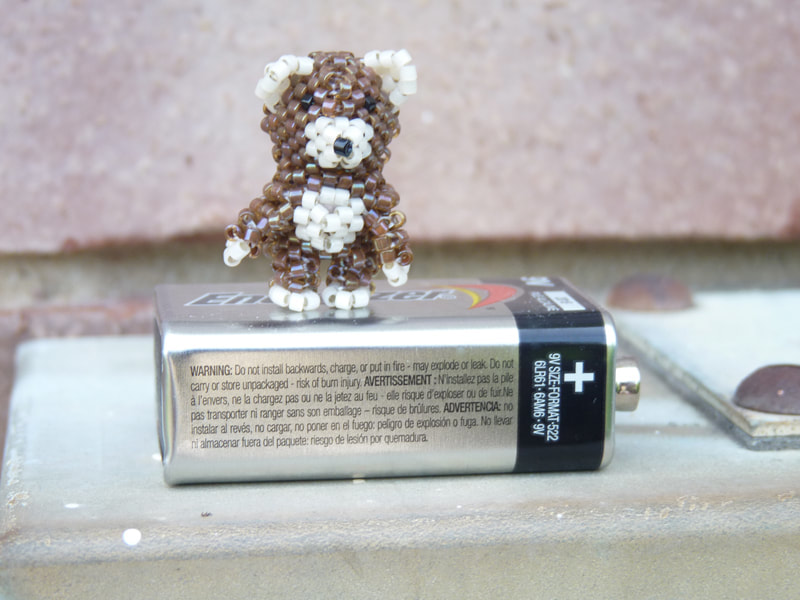
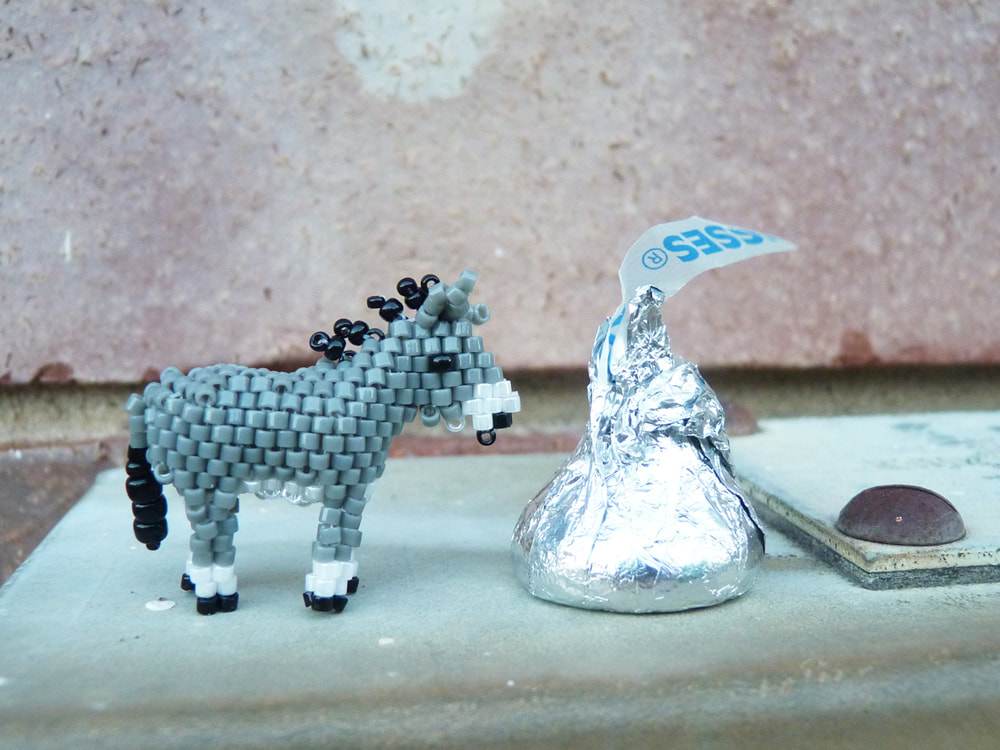
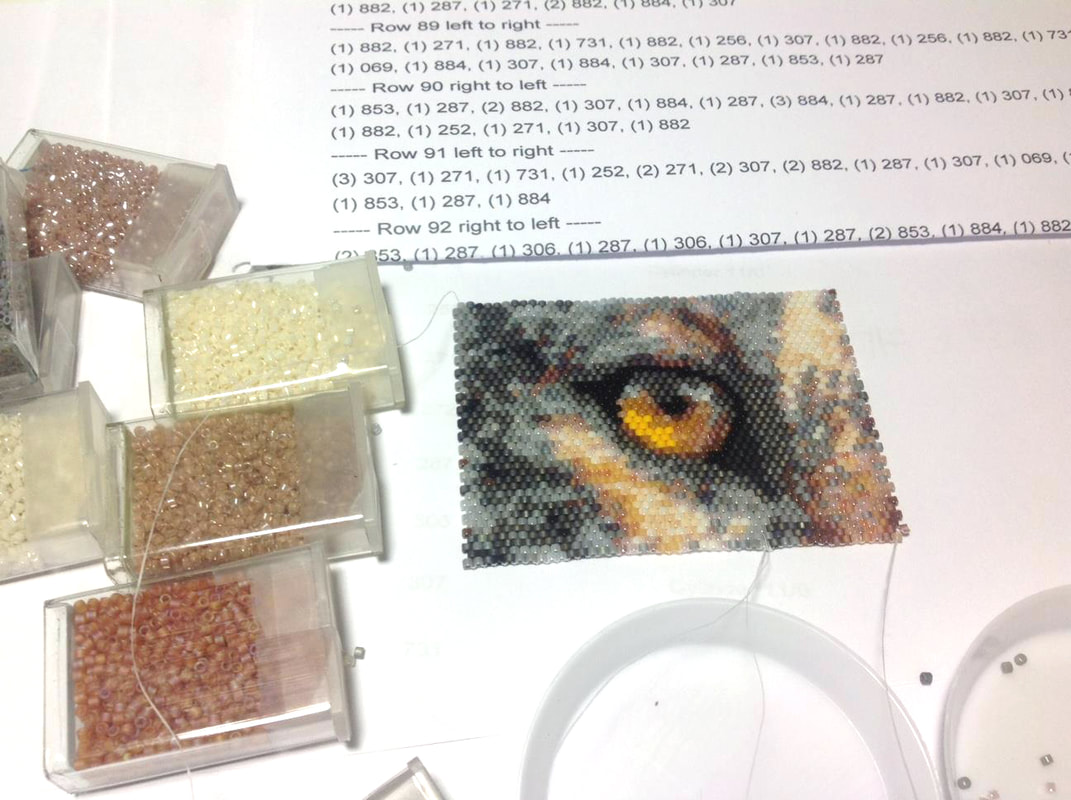
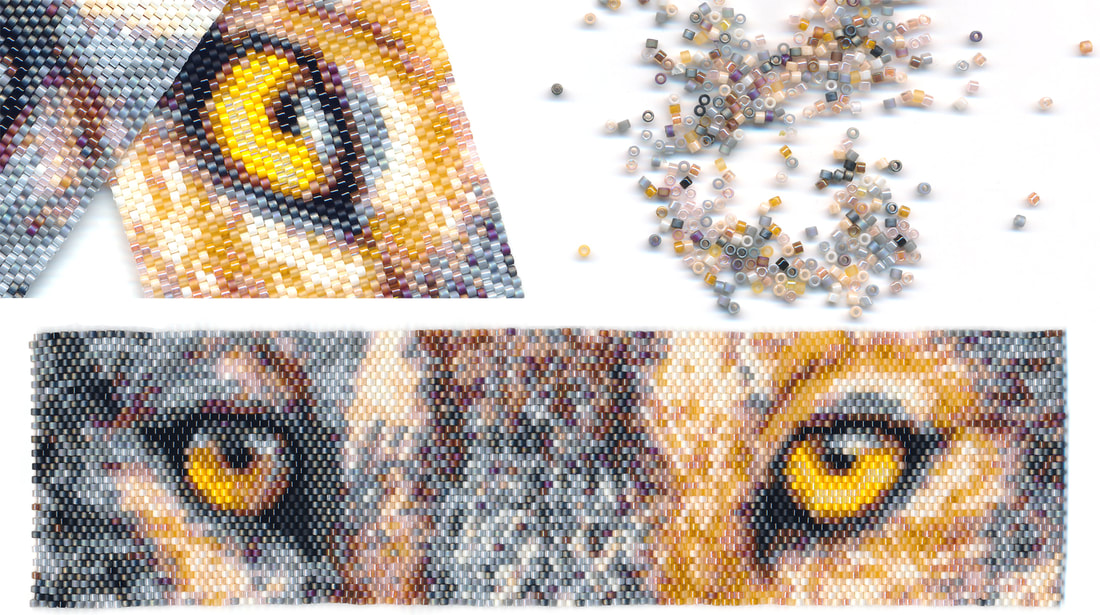
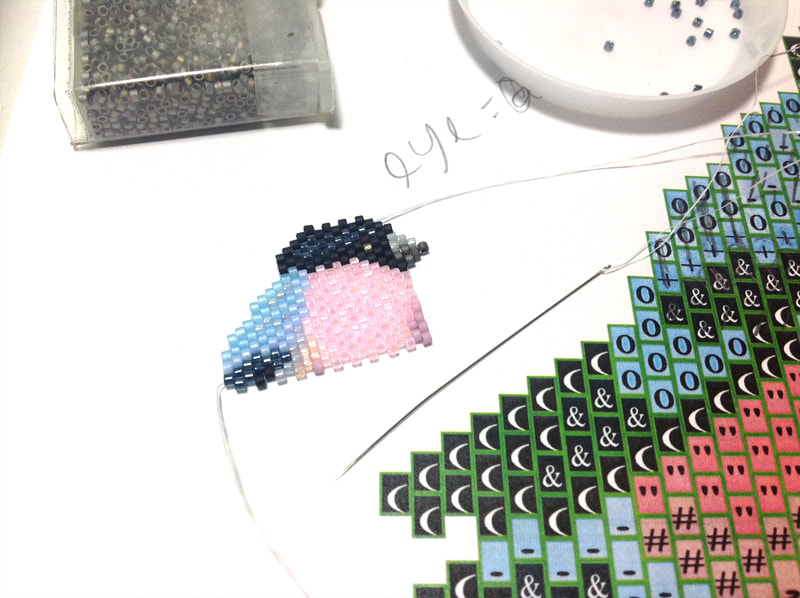
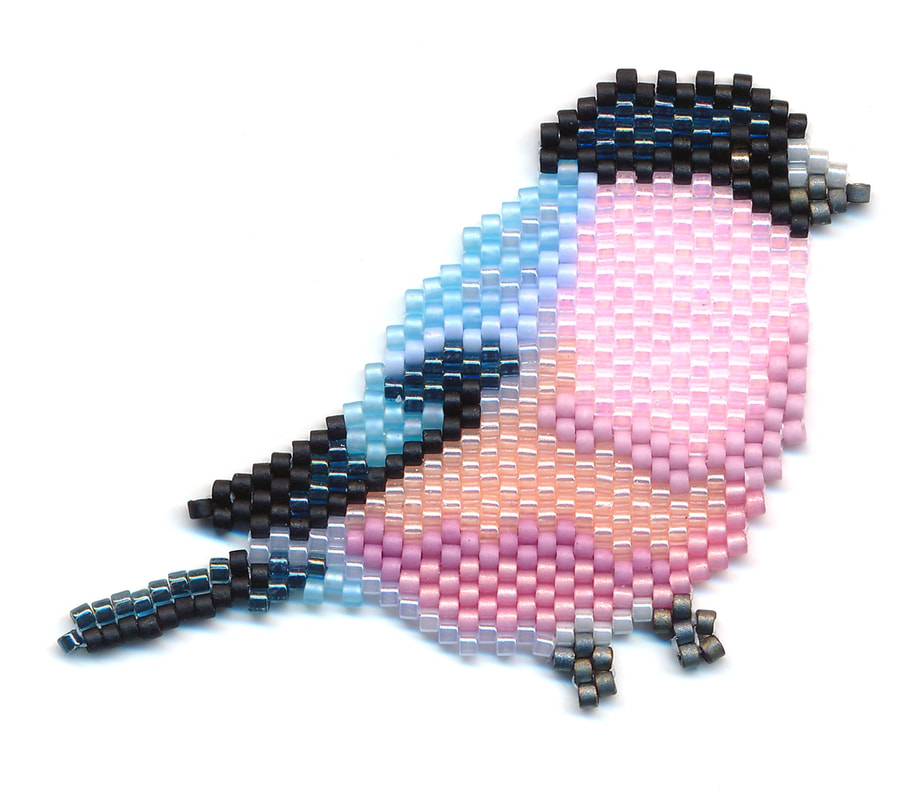
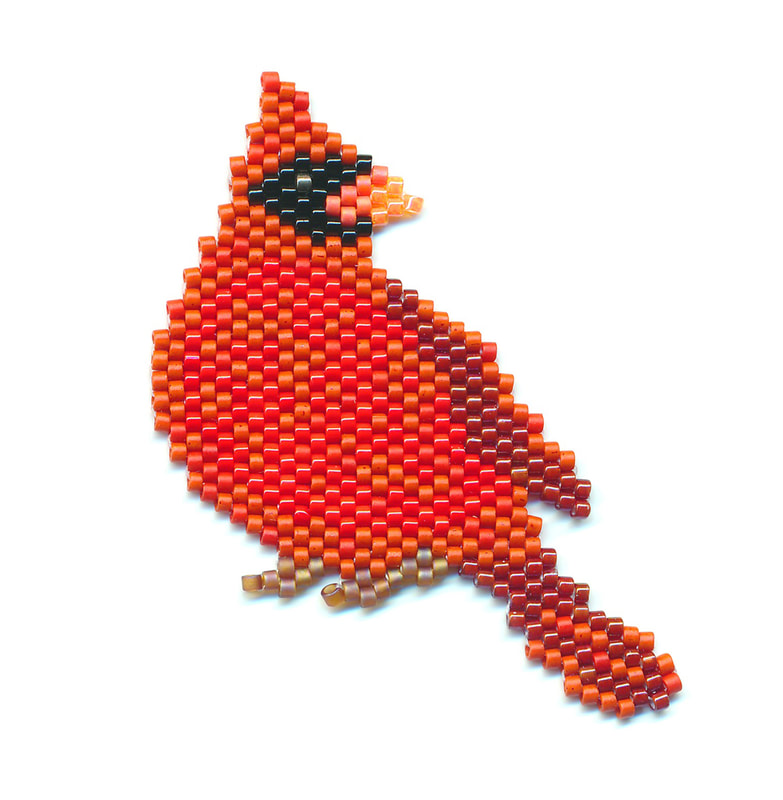
This one only takes 13 colors, and I am trying different things to add a little oomph to the background instead of always being a solid color. I chose a shiny matte white and pretty opaque "sea opal" colored duracoat beads as background that really compliment my precisely chosen colors. This one has some really pretty colors in it, really happy with how it turned out. Guess it was worth it taking it a part a couple of times to get it just right. I just need to turn the flamingo into a little wall tapestry panel, and then on to the next project. Pattern/Kit coming soon. I am so busy designing my own patterns, that I haven't had time to work on projects for myself in a long while. I made this teddy bear for my niece who is about to turn 11. She loves these little beady friends, has a whole collection that I have made over the years. She isn't a teddy bear fan, but thought this was cute. Maybe I will find time to make at least one more animal before her birthday. Still have two others of these patterns still haven't made. (and more available.) 3D Patterns Here by Ruth Kiel This little gal took 3 1/2 hours to make. I ran into a couple brain halts, and had to figure things out, and adapt, etc, as the pattern is designed for regular seed beads not delicas. Also somehow ended up beading things in reverse, but it worked out anyway. She is very tiny. All of 1 inch tall. About the same size of a Hershey kiss. I highly recommend these patterns. They are certainly different than the norm. I've always enjoyed making them. And they help you create tiny little heirloom treasures that will last, I hope, through the generations. :) 6-9 (next day) Added picture of a donkey I finished. So now I have two little animals to give my niece for her b-day. Yipee! The donkey took about 3 hours as well. Donkey is about an inch tall as well. This one took almost 2 hours to make. I had to start over once, and reedit the pattern like 3 times in order to get the shape just right, and exchange some of the colors out. But it turned out really well, and I like how well the colors blend together. Initially one was way to dark, but I fixed that. :) I really like these smaller projects. I can finish them up in 1! day, including making it into a pattern, and posting/listing everywhere. 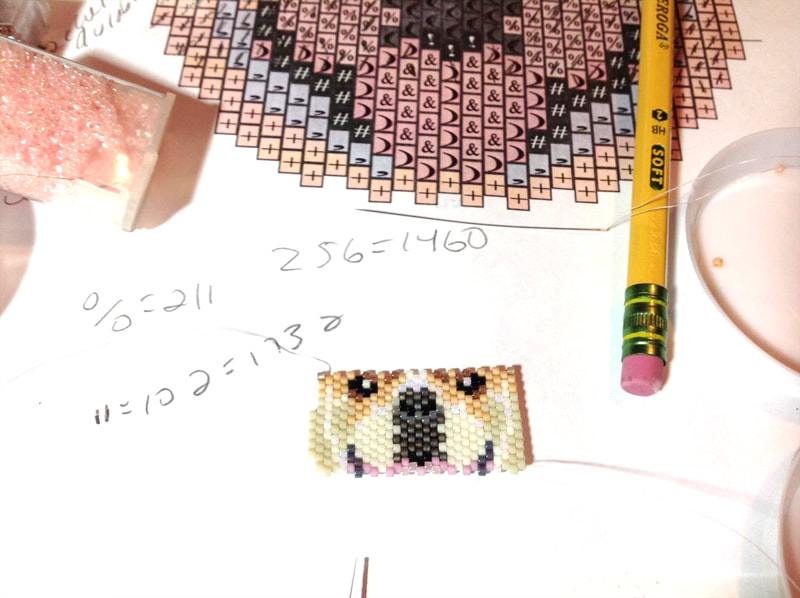 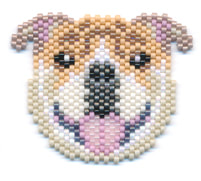 This one took over 12 hours, (still haven't added clasp) and I beaded it up over 7 days, during about a month's time. I wanted it done already, so I finally finished it yesterday, the pattern too, which took another hour+ to get done. It takes 25 colors, and has a lot of variation. Also has very gentle eyes, although I know some like their wolves to look ferocious. I will probably be doing a simple brick stitch design next, maybe another dog design. Although I still have several to be made and to choose from. And hopefully will be designing more too. This is available as a kit or pattern, and it would also look awesome framed. (if you aren't into jewelry) Just finished this. Haven't beaded in months. So much has been going on. Anyway, this took me about 3 Hours to make. The ears all by themself take an hour. I started over as I wanted a higher contrast for the darker highlights, which ended up being DB0388. This is more for the experienced beader, the long ears, adding the little white beads on side, will take a little know how. All though, looking at the chart, does show how they should be positioned, which helps greatly. My sister really liked the colors on this one, called it "snow white". This takes 10 colors to make, and is a nice size. 2.75x 1.60 inches. This can be beaded up in brick stitch, or odd count peyote & brick stitch. I tend to start in peyote, and brick stitch the rest. But it depends on the type of pattern. The pattern/kit is available now. 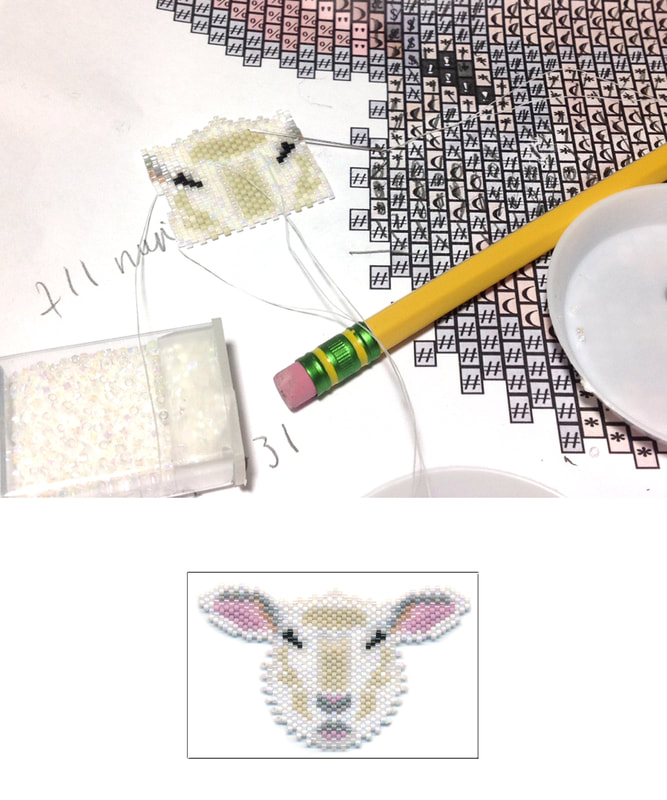 This is one of those projects that wanted to be difficult. I almost finished it yesterday, until I realized I made a boo boo. So when I went to remove the beads and fix the colors, I found that by adding the extra stick out side beads early with brick stitch, had pretty much locked my work in, and made it unfixable. Boo. I didn't think I would have the motivation to do it again, after working so long on it. But the good news is I rebeaded it today, with colors I liked so much better. So something good came from something initially frustrating. I will make sure to finish the main body of work now, and then add the brick-stitched sides. So if I make a mistake again, I will be able to fix it easier. I prefer to do the main part in peyote first, even though I could do the whole thing in brick stitch. Some you have to do all brick stitch anyway, it just depends what sort of design it is. This only had 11 colors, but I kept messing up on this one. I am used to word charts I guess, so sometimes when colors are similar on the graph, I tend to use the wrong shade/delica bead, and not even see that the symbol is different. I am glad I finished it. She does take a little while to bead up (3+ hours), but has a very cute face. I will turn it into a necklace when I get a chance. 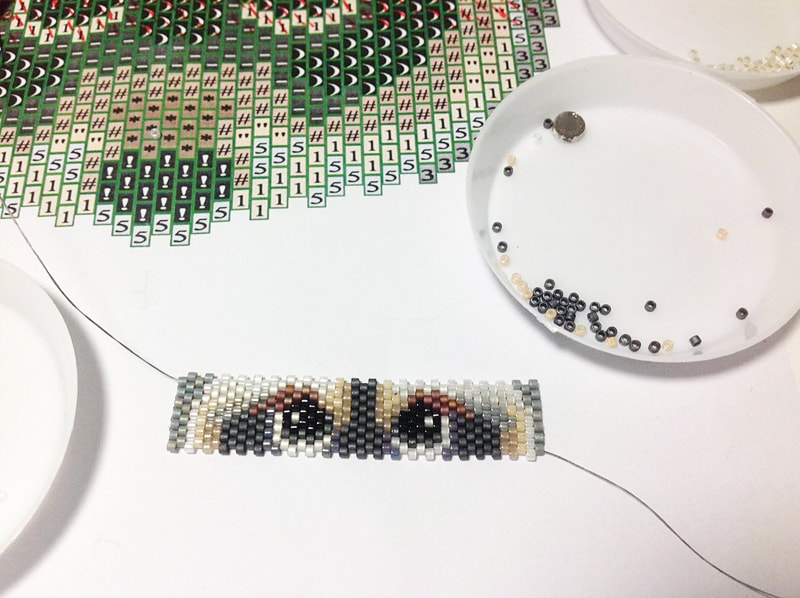 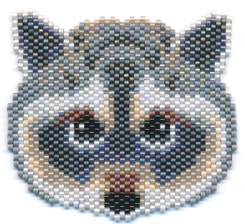 I wanted to do two brick stitch birds today, but so far, I have only done one: this pretty pink and blue finch. I am going to make it into a pin. Next will be a cardinal bird. I think the finch took me about two hours to make, but there was a lot of distractions in between so not entirely sure. Plus, I had to pick the bead colors, so that always makes it take a while the first time I make it. Yay! I just finished the cardinal bird, stayed up late to do so, as I am usually busy on Wednesday. Both birds took about 2 hours each to make. The Cardinal was easier to pick colors for, as it had less, and only had to replace 4 colors but both birds turned out really well. Patterns/Kits should be available this Friday.
Also made: My niece wanted me to make her some homemade french fries. I don't think I've ever made ones like this, but they turned out great. And she ATE them! Yippee! Just 3 red potatoes cut into small french fry type slices, then fried in some canola oil until crunchyish with salt added on top. They were good, but she was only willing to share about 5 of them. 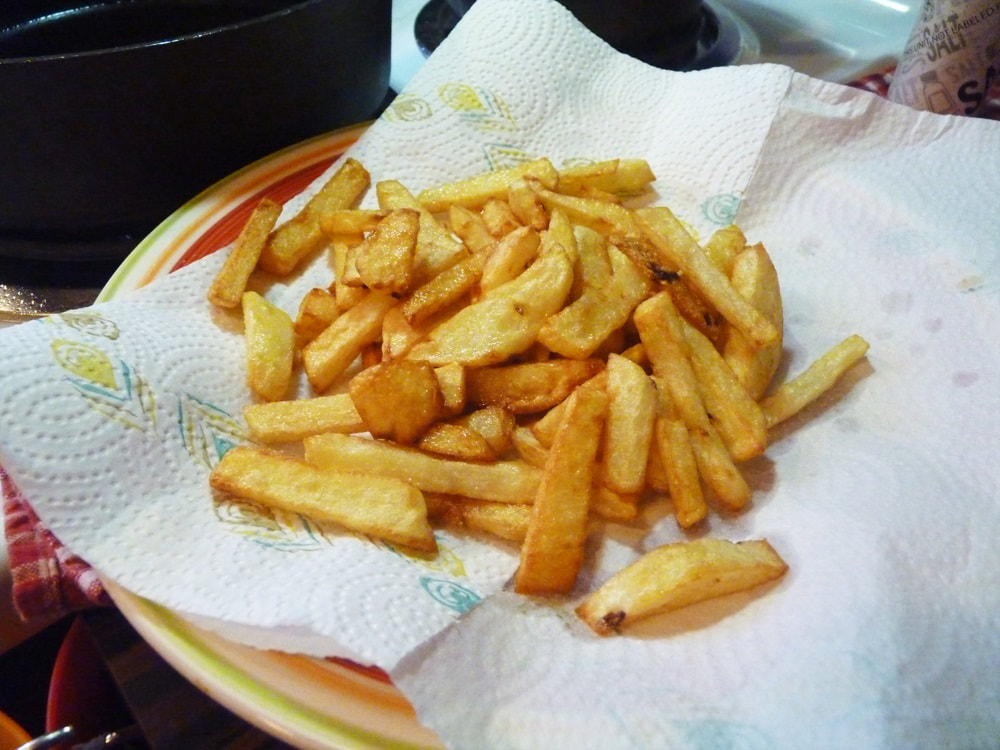 And to finish, an interesting picture of my cat, sitting on the window sill, behind my TV. Which is also my Plex Server/HTPC. And a beautiful one of our dog Molly that turned out really well... makes her look so young. :) This is one of my designs that I made a long time ago, and just now got around to making. I wanted to bead something up that would only take me a a day or two, and this one fit the bill. The most complicated part was picking out the colors. I had a whole tray of beads to choose from varying in shades etc, and somehow I ended up with perfect shades, which is fine with me. This has black, white, gold, silver, and many different colors, including some that I have always loved, but never had the oppurtunity to use. This only took me two days to make. I am not sure how many hours, but it is an easy design to get down and works up easily. After I was done my neice looked at it and said, "That's pretty, looks like the TV off air picture." Which, I guess it sorta does. At least it doesn't sound like one, I remember those things usta be super annoying. Anyway, I still havta finish the actual bracelet up. Really happy with how this turned out. And to complete today's post, I am including a pic of my cat Audrey and a picture of what I made today, french bread pizza a la vegetable (with turkey pepperoni). My sister is always wanting me to make easier, quicker, cheap meals, so here is one. I do most the cooking, around here, but sometimes simple is what is needed and homecooked. I love tomatoes on a pizza, especially good tomatoes. I also like mushrooms but all I had is canned, and since the rest were fresh vegetables, decided to leave it at that... Crunchy breaded pizza cooked in ten minutes or less... guaranteed not to last...  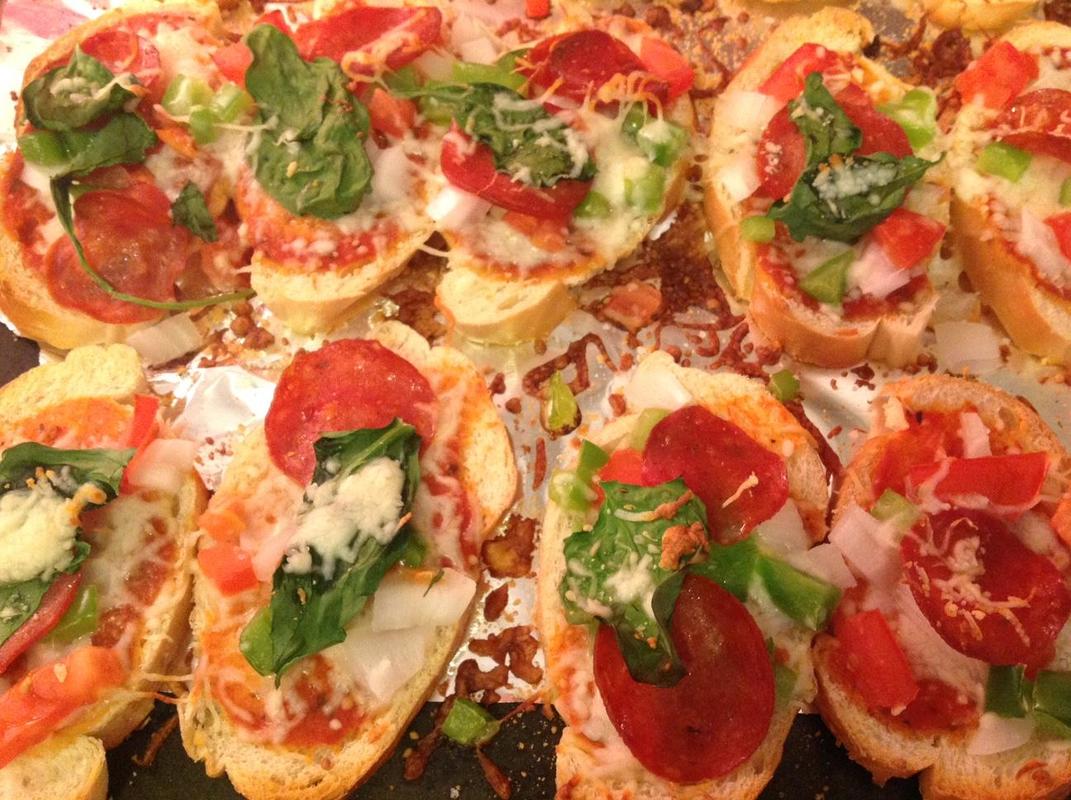 |
MaddiethekatPattern maker, seed bead enthusiast, creatively driven. Archives
June 2020
Categories
All
|

 RSS Feed
